
Deconstructing Flavors: A Beginner’s Guide to Molecular Gastronomy At Home
Molecular gastronomy at home is less about laboratory theatre than about curiosity: understanding why a liquid sets, holds a bubble or grows a skin, then using that knowledge on purpose. With a few food-grade ingredients and a precise scale, an ordinary kitchen can produce trembling pearls, warm jellies and weightless foams that taste vividly of what they are.
The phrase conjures smoking cauldrons and syringes, but the essential equipment is humble: a digital scale, an immersion blender, a few bowls and a slotted spoon. What changes is the way you think. Instead of following a recipe on faith, you ask what each ingredient is doing — thickening, setting, emulsifying, trapping air — and whether something else could do it better.
This guide covers the history, the ingredients worth buying first, three reliable beginner techniques and the safety habits that go with them, before turning technique into a plate someone wants to eat.
What molecular gastronomy actually is
The term “molecular and physical gastronomy” was coined in the late 1980s by Nicholas Kurti, a Hungarian-born physicist at the University of Oxford, and Hervé This, a French physical chemist. Their interest was scientific rather than decorative: why sauces split, how soufflés rise, what heat does to an egg.
Workshops in Erice, Sicily, from the early 1990s brought scientists and chefs together, and the ideas gradually migrated into restaurant kitchens. Strictly, molecular gastronomy is the science; the food it inspired is often called modernist or avant-garde cuisine, a label many of its chefs have never liked.
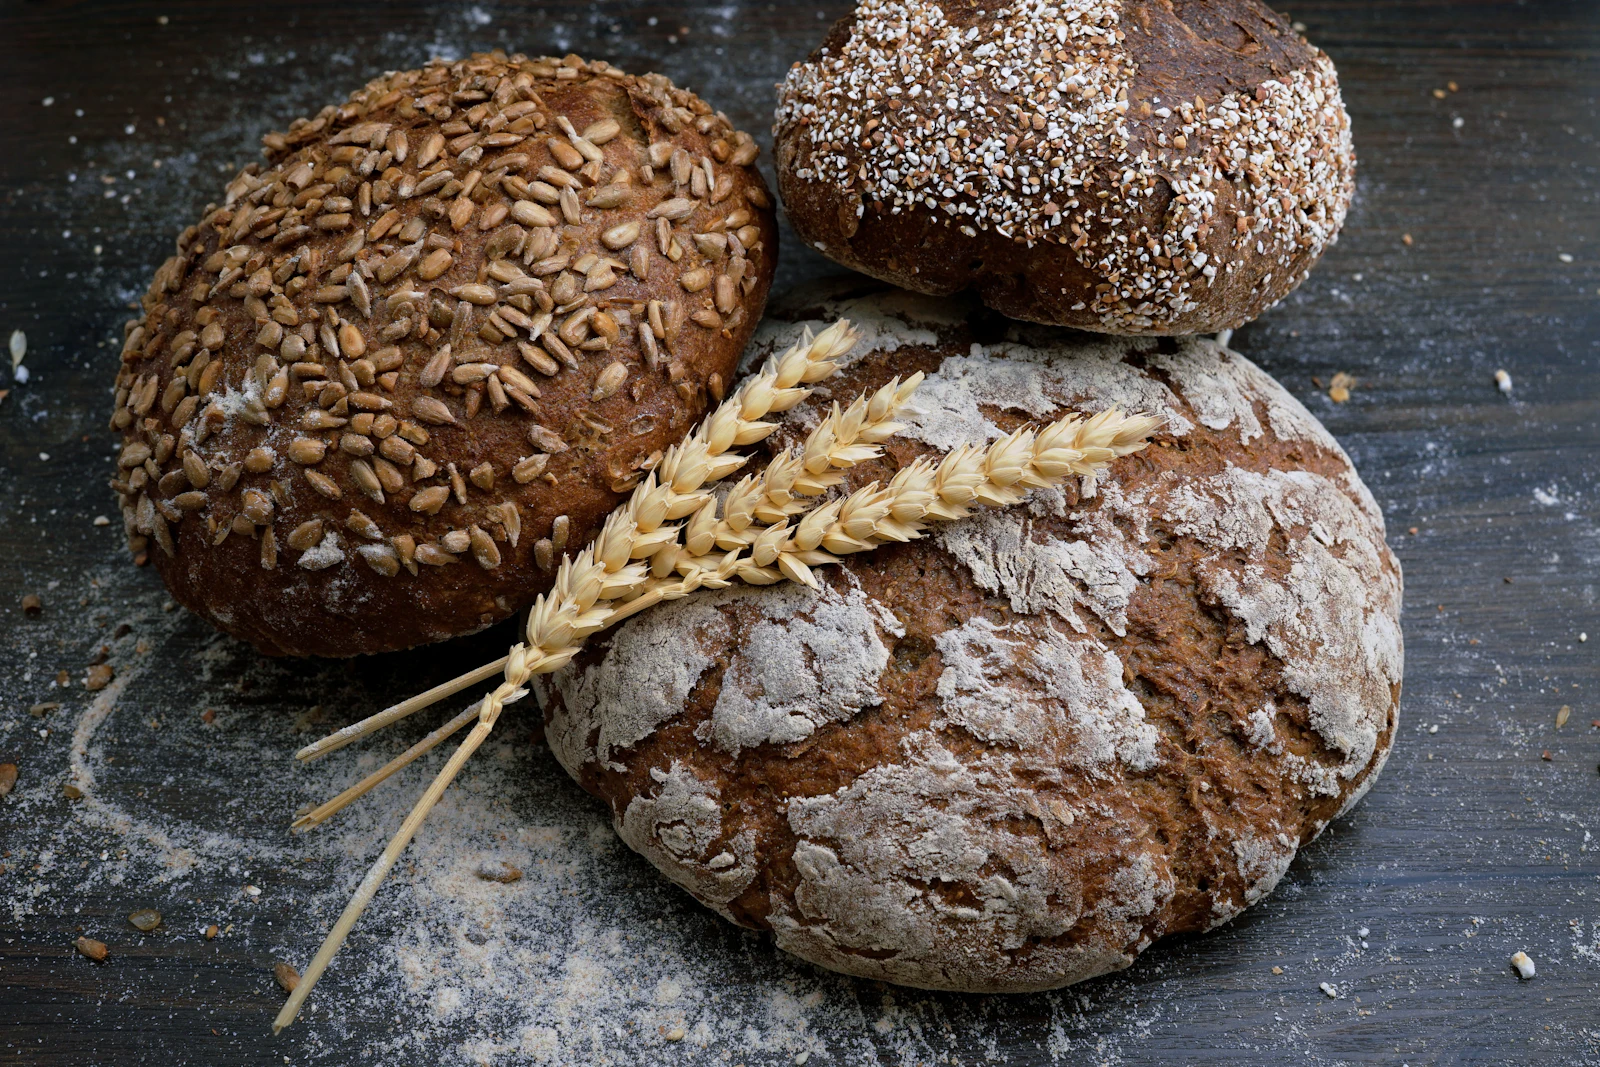
For a home cook, the science is the point and the techniques are its most photogenic results. The same curiosity applies to staples, too: our look at the chemistry behind sourdough crumb structure shows how much happens inside an ordinary loaf.
The starter kit: six food-grade ingredients
Hydrocolloids are substances that disperse in water and change how it behaves, thickening it or turning it into a gel. Most beginner options come from seaweed, microbial fermentation or plants, and they work at tiny concentrations, often well under one per cent of the liquid’s weight. That is why an accurate scale matters more than any other tool.
| Ingredient | What it does | Beginner use |
|---|---|---|
| Sodium alginate | Thickens water and gels wherever it meets calcium ions | Flavoured base for basic spheres; setting bath for reverse spheres |
| Calcium lactate | Mild-tasting calcium source that triggers alginate gelling | Stirred into the flavoured liquid for reverse spheres |
| Calcium chloride | Fast-acting calcium source with a bitter, salty edge | Setting bath for basic spheres, rinsed off afterwards |
| Agar | Sets liquids into firm, heat-tolerant gels once boiled | Jellies, cubes, sheets and fluid gels |
| Xanthan gum | Thickens hot or cold liquids instantly and suspends particles | Glossy sauces, stable vinaigrettes, thickening a thin liquid before spherifying |
| Soy lecithin | Emulsifier that stabilises fine bubbles | Light citrus, herb or dashi “airs” |
Three beginner techniques that work in a home kitchen
Quantities below are general starting ratios by weight; products vary, so where your supplier’s recommended ratio differs, follow theirs.
Basic spherification
Spherification encloses a liquid in a thin gel membrane, producing anything from caviar-sized pearls to yolk-sized spheres that burst on the tongue. Long alginate chains link together wherever calcium ions bridge them. In the basic method, alginate goes into the flavoured liquid and calcium into the bath; a widely used starting point is roughly 0.5% sodium alginate in the liquid and around 0.5–1% calcium chloride in the bath.
- Blend the alginate into the flavoured liquid, then rest it in the fridge for several hours until trapped air rises out.
- Dissolve the calcium salt in water in a wide bowl.
- Release drops from a syringe or squeeze bottle held just above the surface.
- After about a minute, lift the pearls out with a slotted spoon and rinse them in clean water.
The catch: gelling keeps creeping inward after the spheres leave the bath, because calcium has already passed through the membrane. Make basic spheres shortly before serving, or they gradually set solid.
Reverse spherification
Here the roles swap: calcium goes into the flavoured liquid, and the bath is alginate dissolved in water. The gel forms on the outside of each drop and grows outward, so it stops once the sphere is rinsed and the centre stays liquid. Typical starting points are about 0.5% sodium alginate in the bath and 1–2% calcium lactate in the liquid.
It suits calcium-rich and acidic liquids for two reasons. Yogurt, cream and some fruit purées already contain enough calcium to set alginate prematurely; in the reverse method, that calcium becomes an asset. And alginate struggles to dissolve and gel in strongly acidic liquids, so sharp juices behave poorly in the basic method. Keeping the alginate in a neutral water bath sidesteps the problem.
- Blend the alginate into distilled or low-mineral water — hard tap water contains calcium — and rest it until clear.
- Add calcium lactate to the flavoured liquid if needed; a pinch of xanthan helps a thin liquid form neater spheres.
- Lower spoonfuls gently into the bath, keeping them apart, and leave them for a few minutes.
- Rinse and hold them in a little of the original liquid until you plate.
Agar gels and fluid gels
Agar must be brought to the boil to dissolve, sets as it cools to roughly 35–45°C, and will not melt again until heated close to boiling. That gap means an agar jelly can be served warm or set at room temperature in minutes.
For a firm, sliceable gel, roughly 0.5–1% agar by weight is a common starting point. Agar gels are brittle rather than bouncy, and boiling with acid weakens them, so stir acidic components in off the heat. A fluid gel turns that brittleness into a virtue: set the gel, blend it smooth and pass it through a fine sieve for a glossy purée that holds its shape yet flows like a sauce.
Lecithin airs and foams
An air is a foam so light it delivers aroma more than texture. Dissolve soy lecithin into a thin, well-seasoned liquid — around 0.5% by weight is a common starting point — in a wide container. Tilt it, hold the immersion blender head just at the surface to draw in air, then spoon the bubbles from the top. Watery bases such as juices and light stocks work best; airs collapse within minutes, so make them last.
The best avant-garde dish does not hide its ingredients; it makes you taste them as if for the first time.
A note on precise temperature control
Sous-vide cooking, in which sealed food cooks in a precisely held water bath, applies the same thinking to heat. Because egg whites, yolks and muscle proteins set at different temperatures, exact control makes texture a deliberate choice.
Safety: the non-negotiables
At cooking quantities, these ingredients are common food additives, permitted in many countries under codes you may recognise from labels, such as E401 for sodium alginate and E406 for agar. Safe use still depends on disciplined habits.
- Buy food grade only. Calcium chloride is also sold as a de-icer and desiccant; those products are not for food.
- Label everything. White powders look identical, so mark each container with its name, grade and date.
- Store with care. Keep containers sealed, dry, out of reach of children and pets, and away from cleaning products.
- Weigh, never guess. Excess calcium chloride tastes harsh, and too much hydrocolloid makes food gummy.
- Mind allergies. Soy lecithin comes from soy; check labels, consider sunflower lecithin and tell guests what each element contains.
- Think about small diners. Firm pearls and gel cubes can pose a choking risk for young children.
From technique to plate: plating and flavour pairing
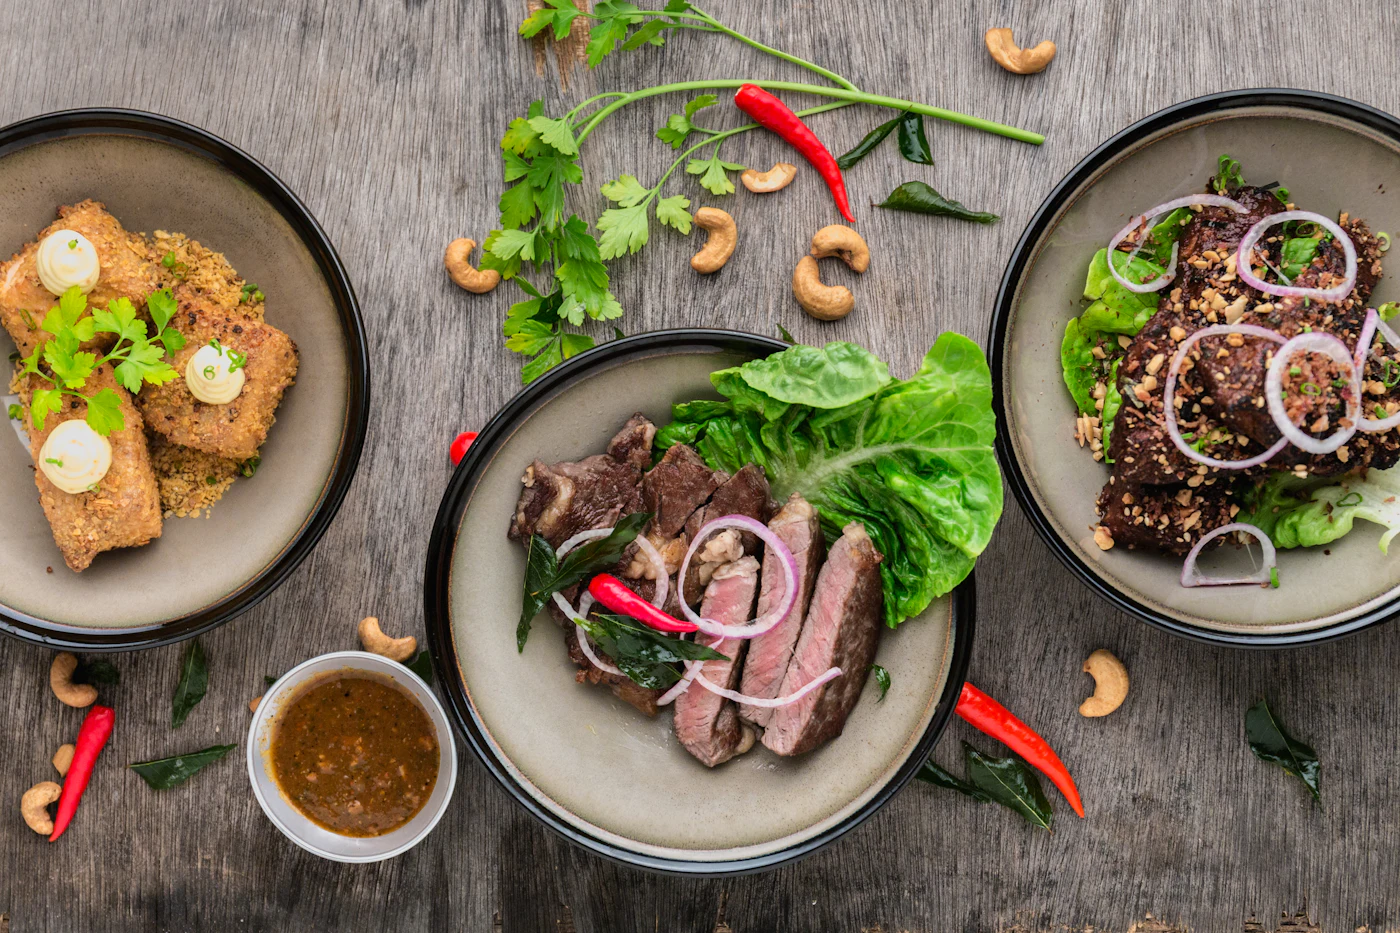
The commonest beginner mistake is technique for its own sake. Five textures that all taste faintly of nothing make a science project, not a dish. Start with a flavour you love, then ask which form would show it off best.
Deconstruction means taking a familiar dish apart and reassembling it in new shapes: a tomato salad might become clear tomato jelly, basil oil, olive pearls and a whisper of salted air.
Flavour pairing deserves similar scepticism. The idea that ingredients sharing key aroma compounds pair well has been widely explored, and research suggests it holds in some culinary traditions more than others. Treat it as a source of ideas; your palate is the final test.
- Contrast textures: crisp beside soft, a burst beside a smear.
- Play with temperature: a warm agar jelly against a cold sorbet.
- Show restraint: one or two techniques per plate is plenty.
- Plan your timing: gels can be made ahead; airs and basic spheres go on last.
The bottom line
Molecular gastronomy at home rewards patience more than spending. A scale, a blender and a few food-grade powders are enough to master spherification, agar gels and lecithin airs, and each technique teaches you something about ingredients that carries into everyday cooking.
The aim of any molecular gastronomy at home guide should be to make you a more thoughtful cook rather than a more theatrical one. Keep the science honest, the safety rules strict and the flavours front and centre, and the avant-garde becomes something you can enjoy at your own table.
Frequently asked questions
Is molecular gastronomy safe to try at home?
The beginner techniques here are safe with food-grade ingredients at sensible quantities, stored and labelled properly and kept from children. The real hazards, liquid nitrogen and dry ice, have no place in a home kitchen.
Why are my spheres flat or bursting?
Common culprits are a liquid that is too thin, drops released from too high, air bubbles in the alginate, an acidic base used with the basic method, or calcium-rich tap water in a reverse bath. Adjust one variable at a time.
Can I make spheres in advance?
Reverse spheres can be held briefly in a little of their original liquid, because gelling stops once rinsed. Basic spheres keep setting inward, so make them shortly before serving.